01Steps
Open Reverse Video in Process
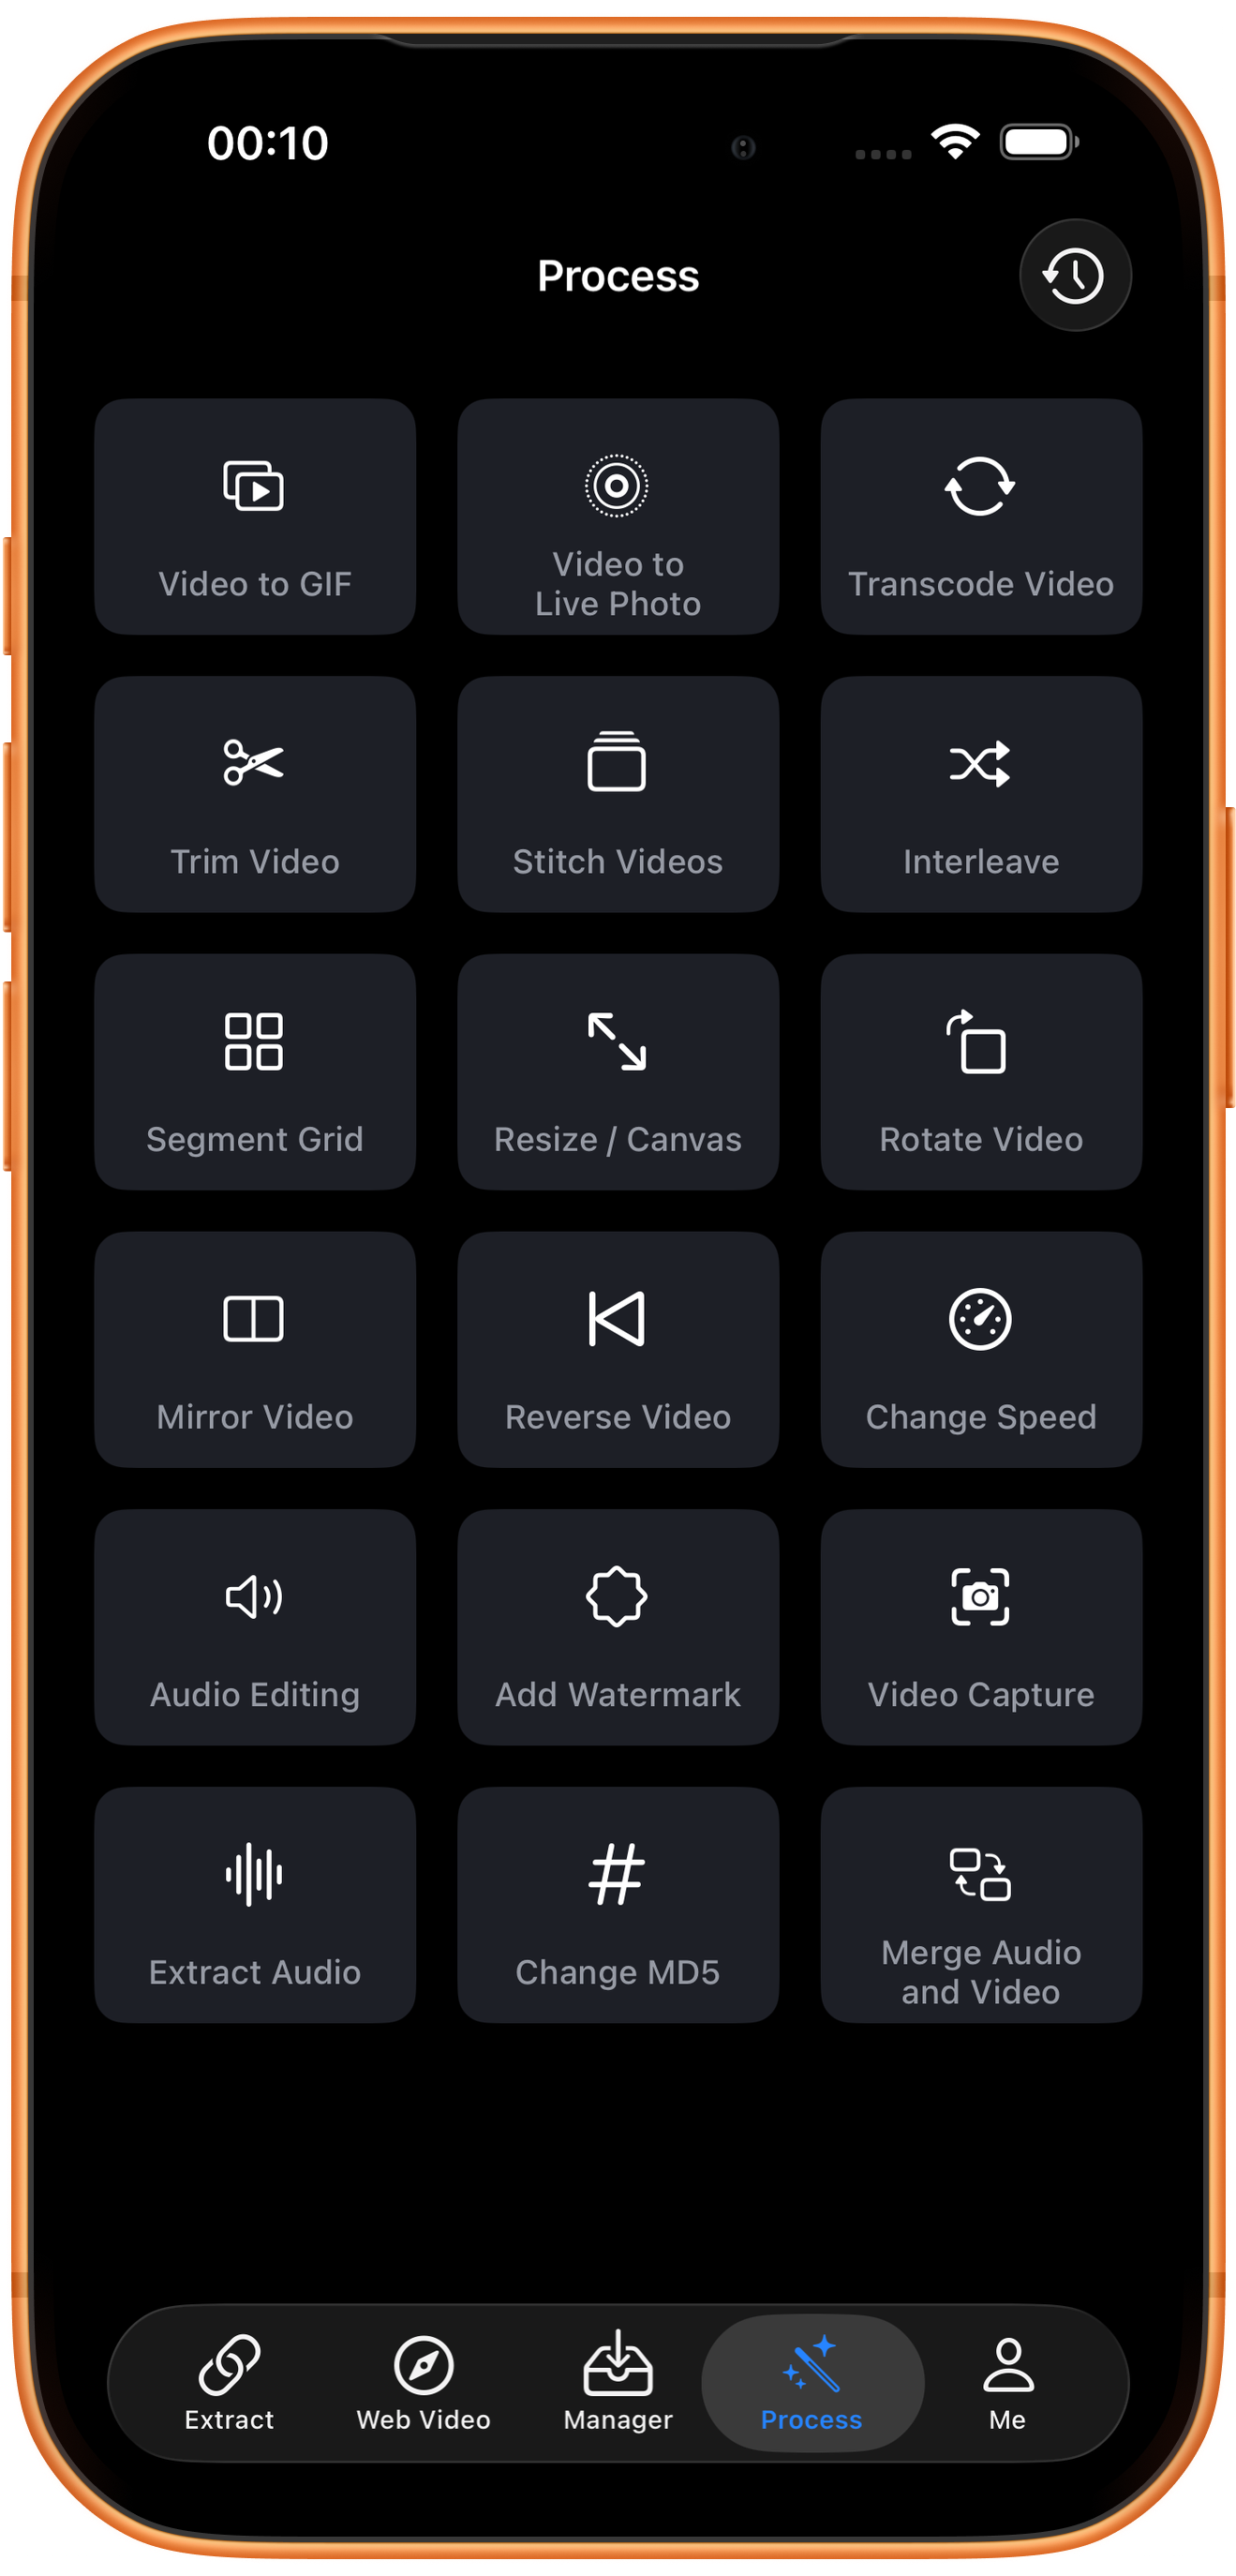
Tap Process in the bottom navigation. Find Reverse Video in row 4, in the middle column, and tap the entry marked by the arrow.
02Steps
Choose the video to process
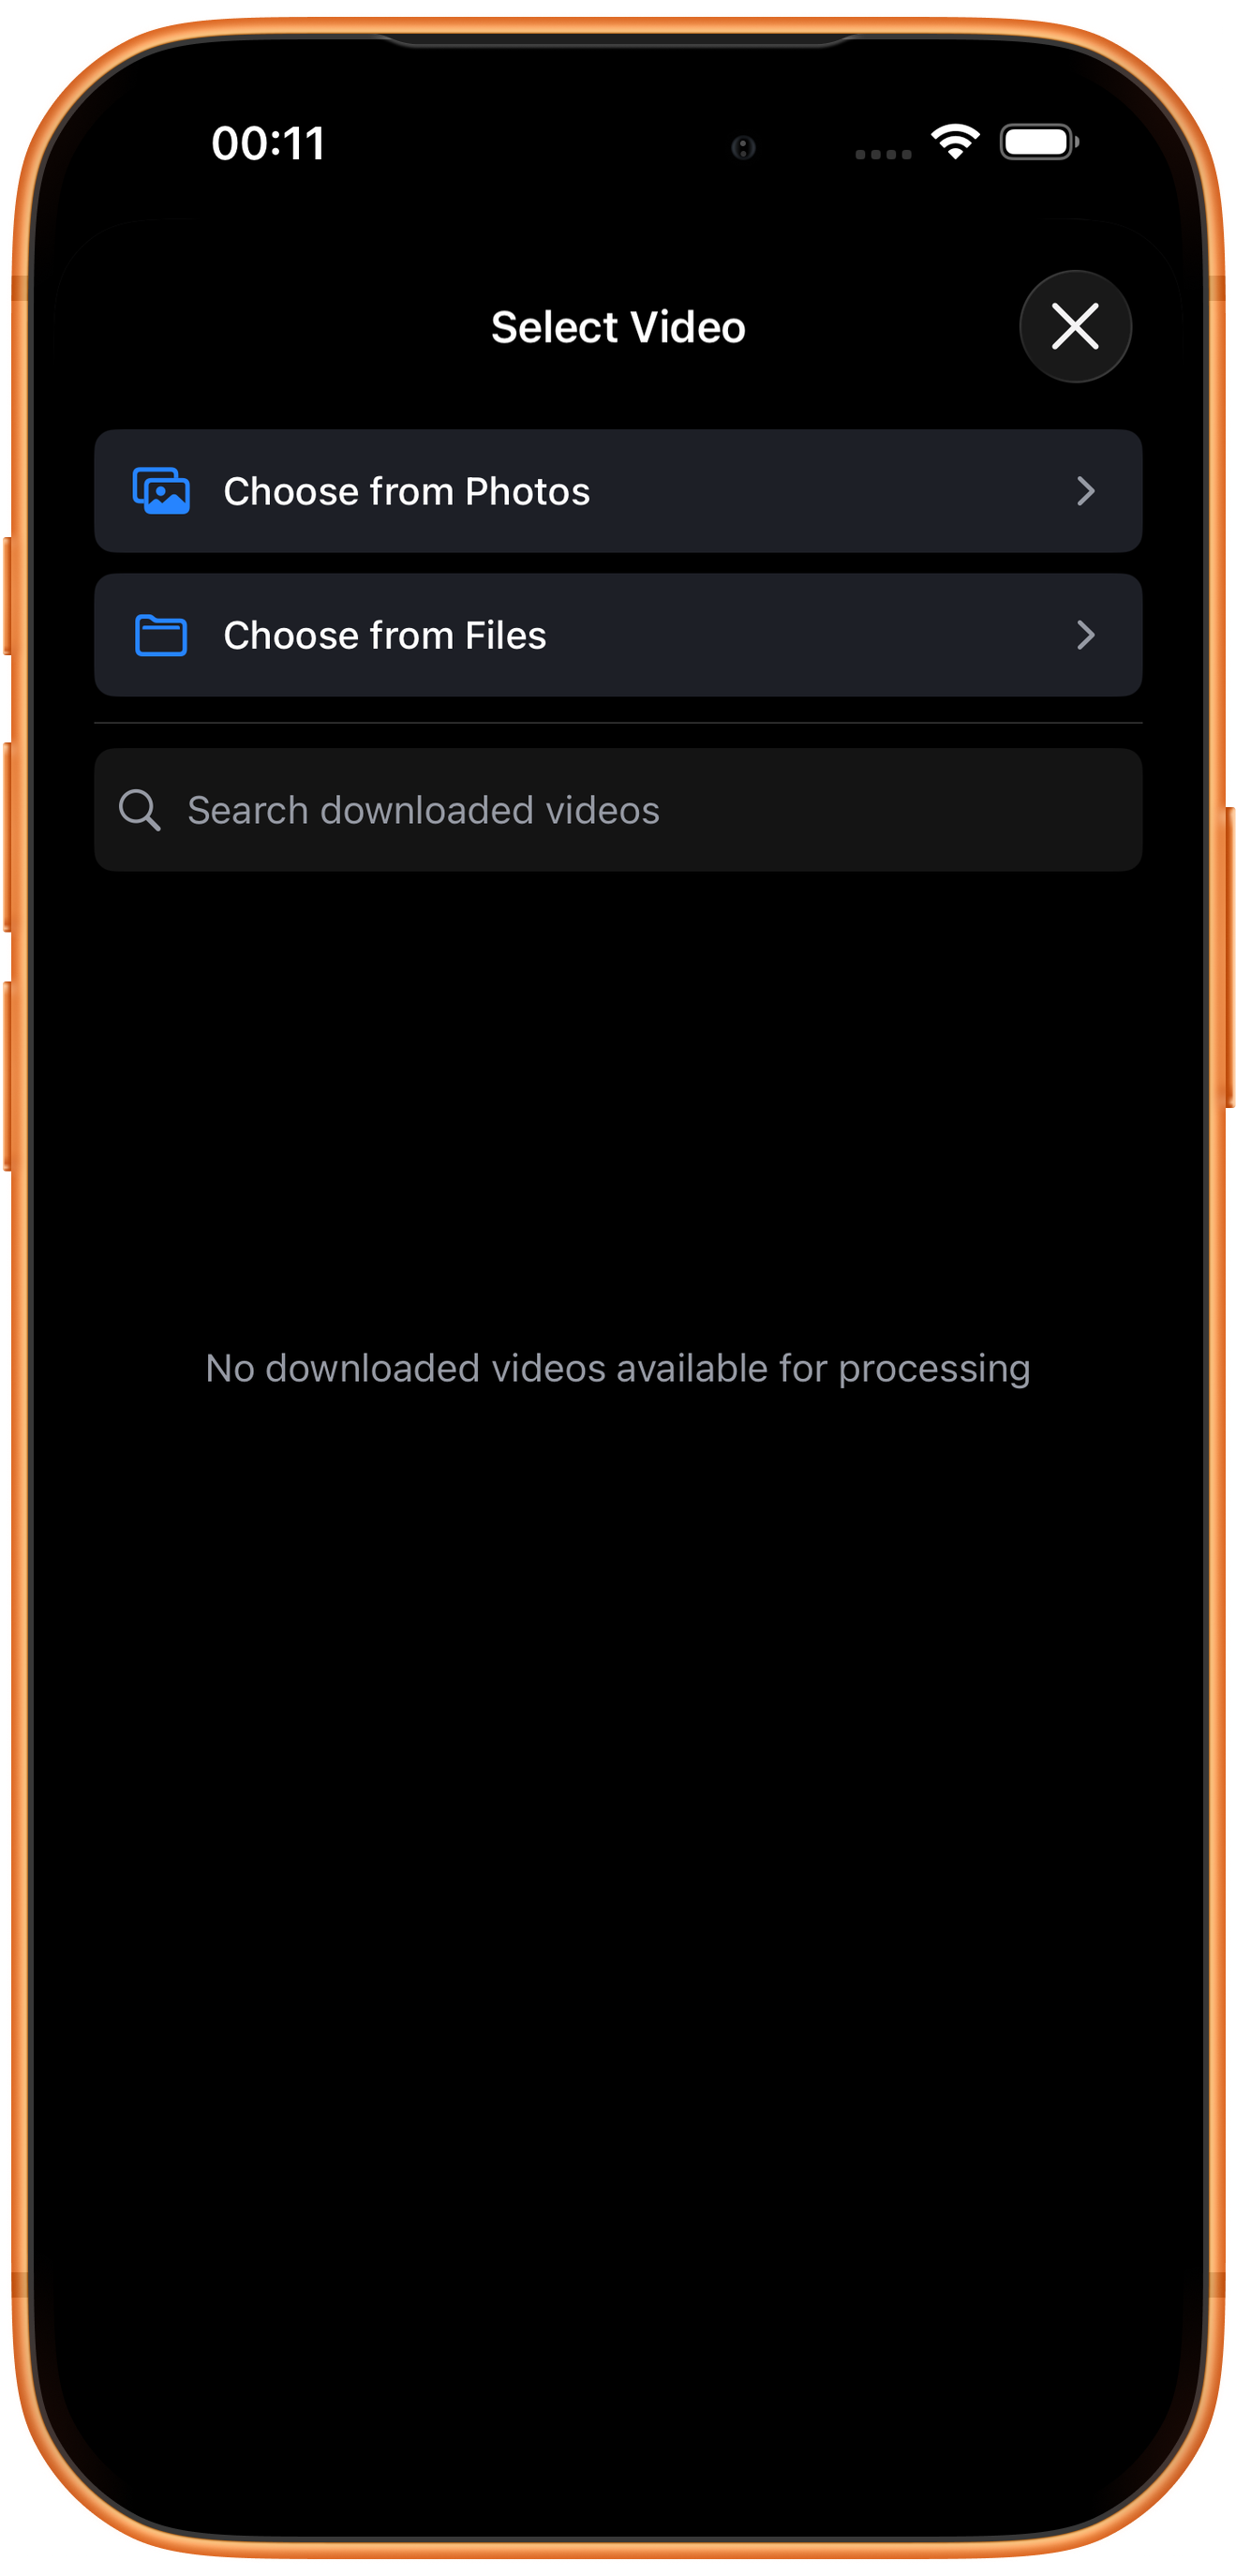
In Select Video, tap Choose from Photos and pick your source. Use Choose from Files for media stored in Files. An empty download list does not prevent importing from Photos. Some examples reuse a previously trimmed clip of about six seconds; you can prepare a short sample with Trim Video.
03Steps
Choose how to handle sound
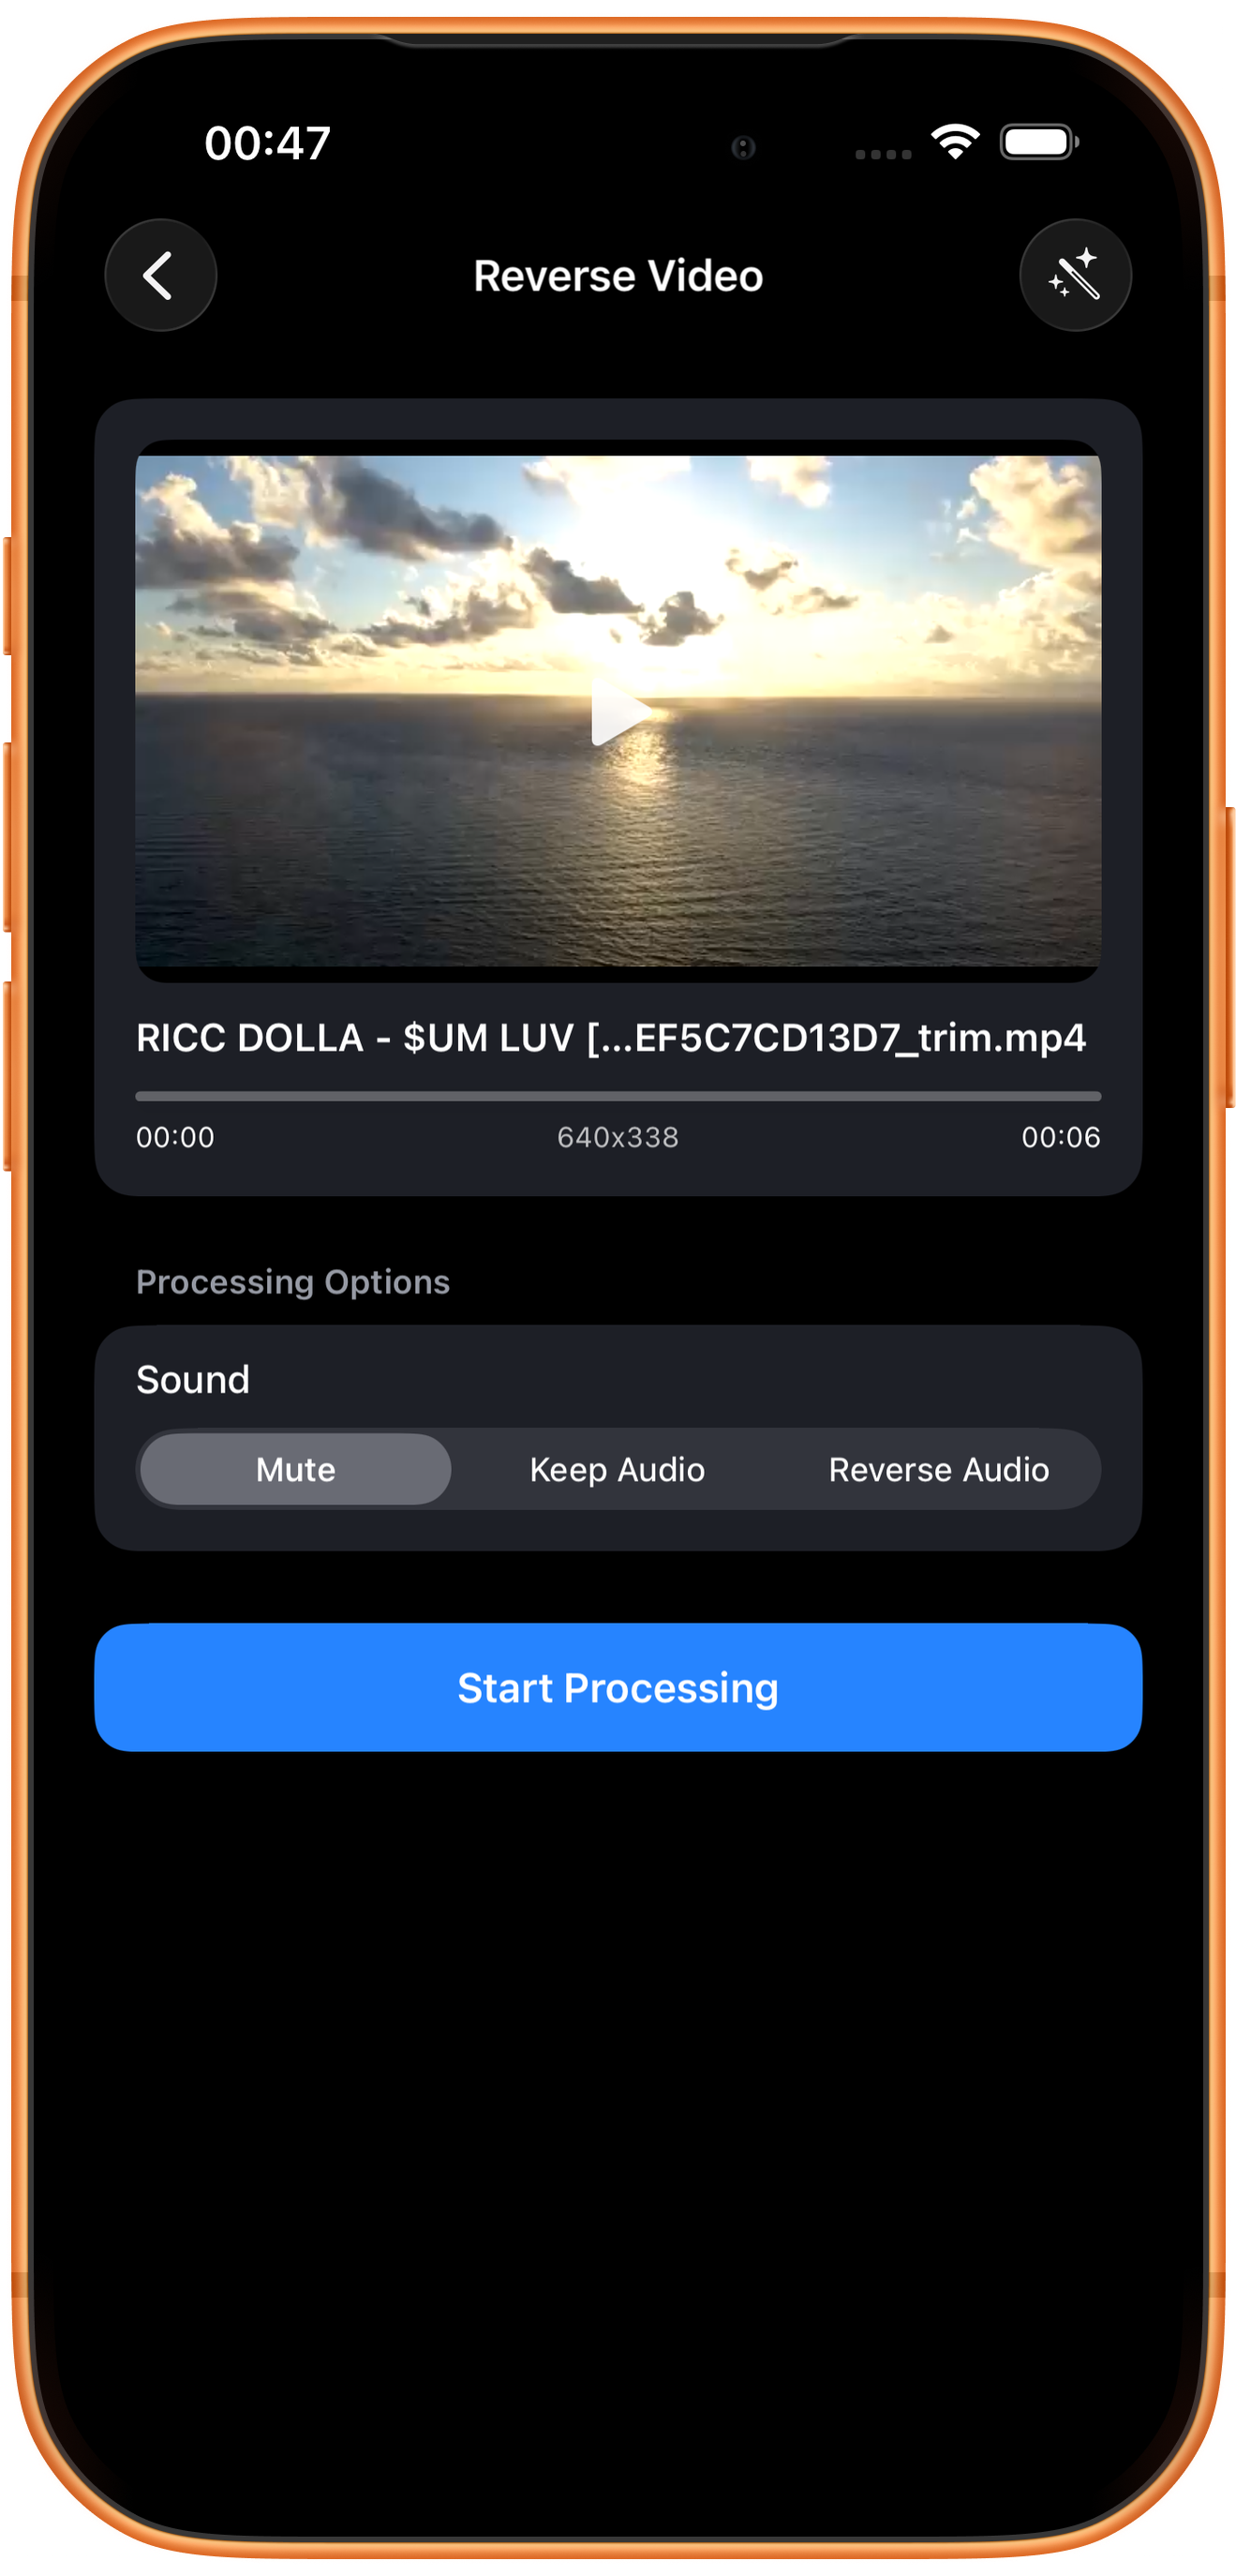
Sound offers Mute, Keep Audio, and Reverse Audio. This example chooses Mute, then Start Processing.
Mute removes the sound
Use it when only the backward motion is needed, or when reversed dialogue and ambient sound would be distracting.
Keep Audio versus Reverse Audio
Keep Audio preserves the original audio order; Reverse Audio reverses sound. Listen to exported dialogue or music to check the effect. Only mute mode was tested here.
04Steps
Check the result, then save or keep processing
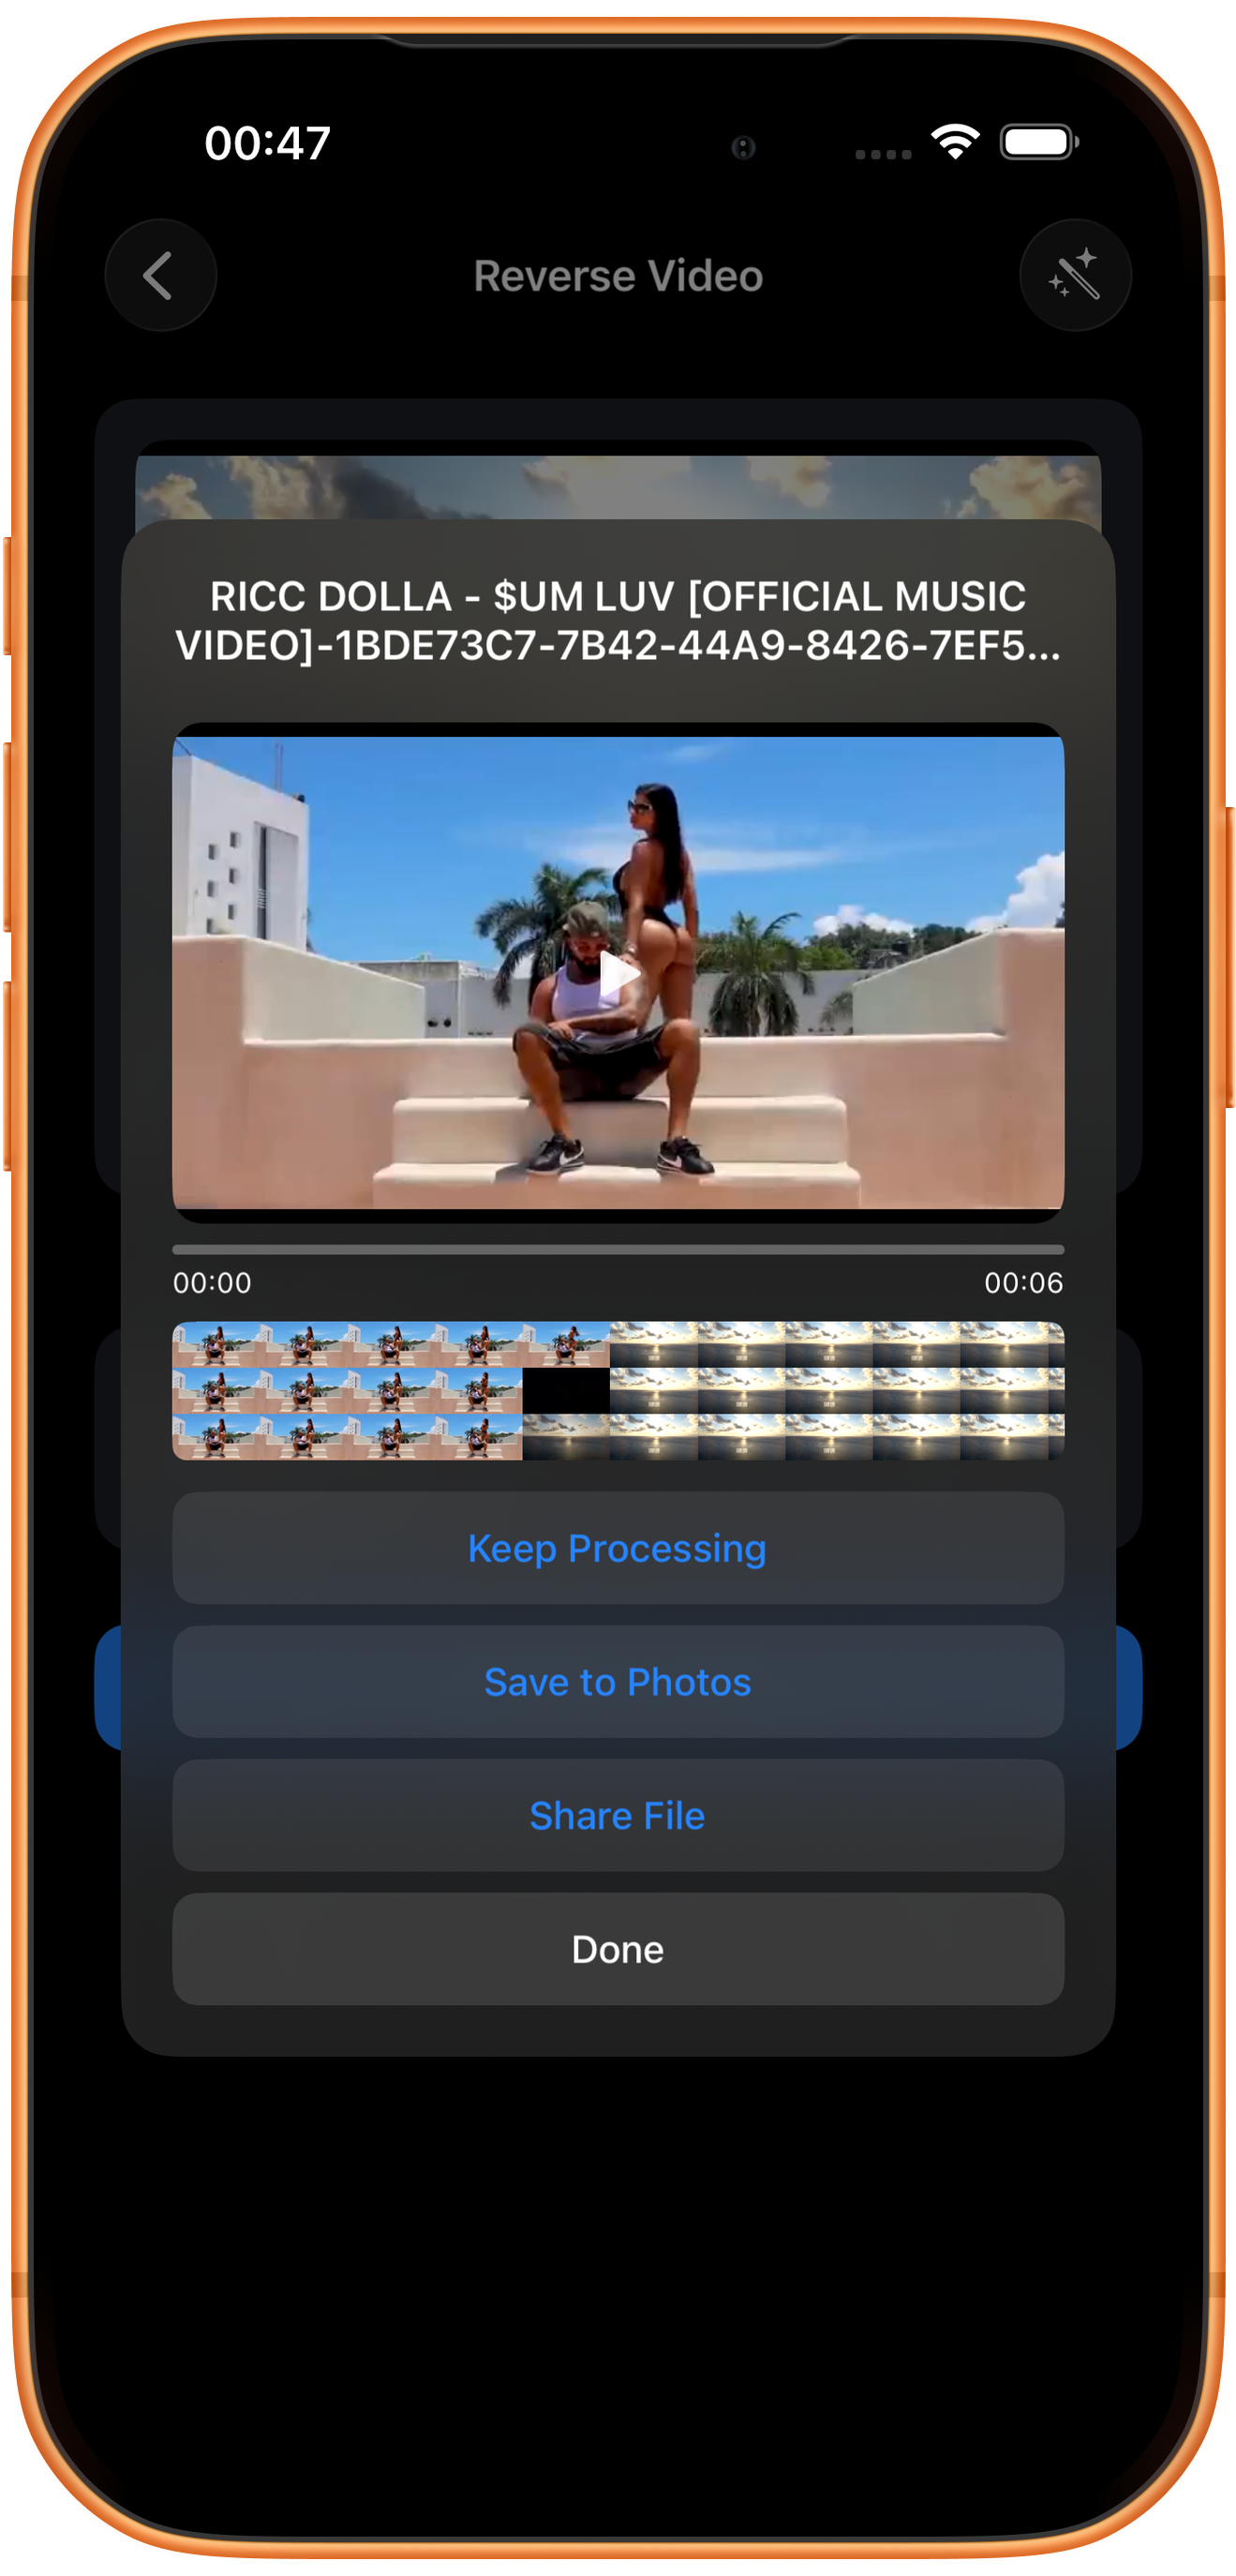
The first frame shows the person from the end of the original video, and thumbnail order is reversed. The displayed duration remains about six seconds. Play it to confirm that motion proceeds backward.
Preview and save
Play the result and check picture, duration, and sound, then tap Save to Photos. The first save may require permission to add photos and videos. After the success message, check the file in Photos.
What the other buttons do
Keep Processing takes the result into tool selection. Share File opens sharing options. Done closes the result page; it does not save to Photos.
Troubleshooting
Trim first, then reverse
Keep the target action with Trim Video before reversing. This makes timing easier to assess and reduces the amount to process.
Frequently asked questions
Is reversing the same as rotating 180 degrees?
No. Reverse changes time order; Rotate Video changes picture orientation.
Why does the reversed result have no sound?
The example uses default Mute. Select a sound mode if needed and check the exported audio.
Try it on your device
ClipDock is free to download, with in-app purchases. Features and available options depend on the current app version.
Download on the App Store